
A leaky faucet can be a nuisance, wasting water and increasing your utility bills. Understanding how to fix different types of leaky faucets is essential for maintaining your plumbing system. This guide will walk you through the steps to repair various types of faucets, ensuring a proper fix for each type.
Identifying Leaky Faucet Types
Before you can fix a leaky faucet, it’s important to identify the type of faucet you have. There are four main types of faucets: compression, ball, cartridge, and ceramic disk. Each type requires a different repair approach.
Compression Faucets
Compression faucets are common in older homes and have two separate handles for hot and cold water. These faucets use a washer to control water flow.
Ball Faucets
Ball faucets are often found in kitchens and have a single handle that moves over a rounded ball-shaped cap. They are known for their complex design with many parts.
Cartridge Faucets
Cartridge faucets can have a single handle or two handles. They operate with a cartridge that moves up and down to control water flow.
Ceramic Disk Faucets
Ceramic disk faucets are the most durable type, with a single lever over a wide cylindrical body. They use a pair of ceramic disks to control the flow of water.
Tools and Materials Needed
To fix a leaky faucet, you will need the following tools and materials:
- Adjustable wrench
- Screwdriver
- Replacement parts (washers, O-rings, cartridges, etc.)
- Plumber’s grease
- Pliers
- Cloth or towel
Step-by-Step Guide to Fixing a Leaky Faucet
Fixing a Compression Faucet
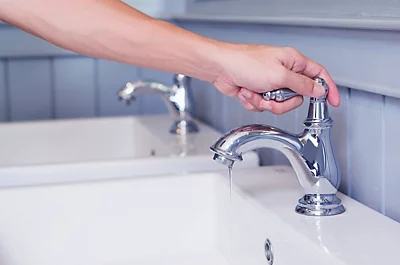
1. Turn Off the Water Supply
Before starting any repair, ensure the water supply to the faucet is turned off. This can usually be done by shutting off the valves under the sink.
2. Remove the Faucet Handles
Use a screwdriver to remove the handles. You may need to pry off decorative caps to access the screws.
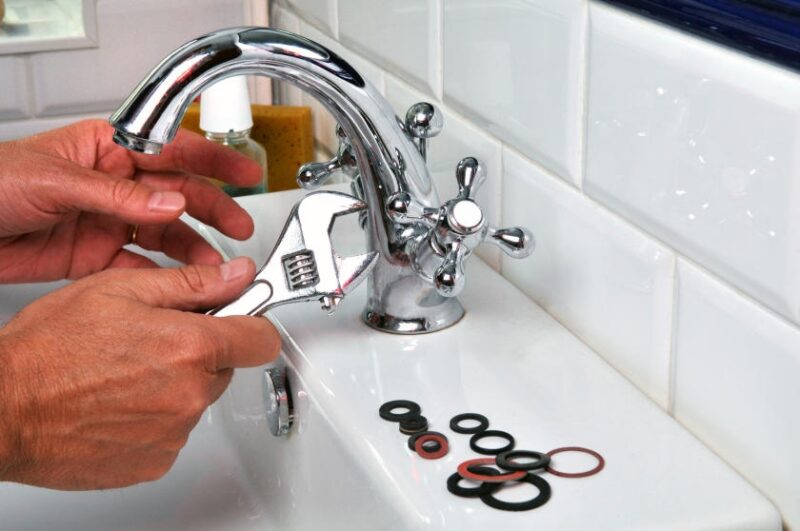
3. Replace the Washer
Once the handles are removed, use an adjustable wrench to unscrew the packing nut. Remove the stem and replace the washer, which is usually the cause of the leak. Reassemble the faucet and turn on the water supply to check for leaks.
Fixing a Ball Faucet
1. Turn Off the Water Supply
As with any faucet repair, start by turning off the water supply.
2. Disassemble the Faucet
Use a screwdriver to remove the handle and a wrench to unscrew the cap. Carefully lift out the ball and the cam assembly.
3. Replace Worn Parts
Inspect the ball, seals, and springs for wear and tear. Replace any damaged parts and reassemble the faucet.
4. Test the Faucet
Turn on the water supply and check for leaks. Make any necessary adjustments to ensure a proper fix.
Fixing a Cartridge Faucet
1. Turn Off the Water Supply
Ensure the water supply is off before starting the repair.
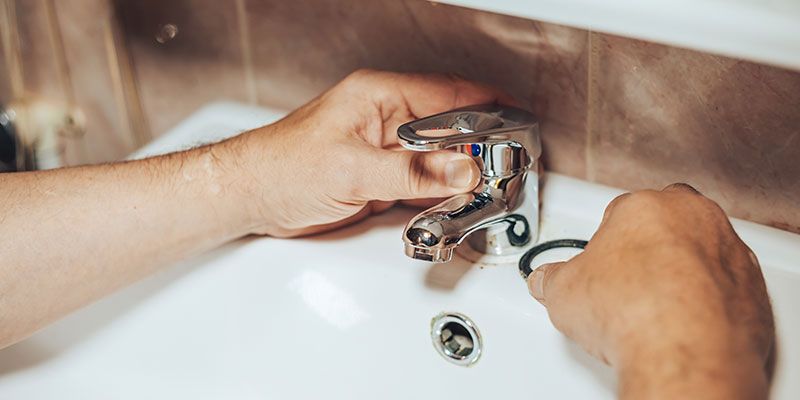
2. Remove the Handle
Use a screwdriver to remove the handle and expose the cartridge. Depending on the model, you may need to remove a retaining clip.
3. Replace the Cartridge
Pull out the old cartridge and replace it with a new one. Make sure it is properly aligned before securing it in place.
4. Reassemble the Faucet
Reattach the handle and turn on the water supply to check for leaks.
Fixing a Ceramic Disk Faucet
1. Turn Off the Water Supply
Start by turning off the water supply.
2. Remove the Handle
Use a screwdriver to remove the handle and access the ceramic disk assembly.
3. Clean or Replace the Disks
Remove the ceramic disks and clean them thoroughly. If they are damaged, replace them with new ones.
4. Reassemble the Faucet
Reassemble the faucet and turn on the water supply. Check for leaks and make any necessary adjustments.
For More: From Pipes to Faucets What is Plumbing and How Does it Work?
Installing-a-Shower-Faucet
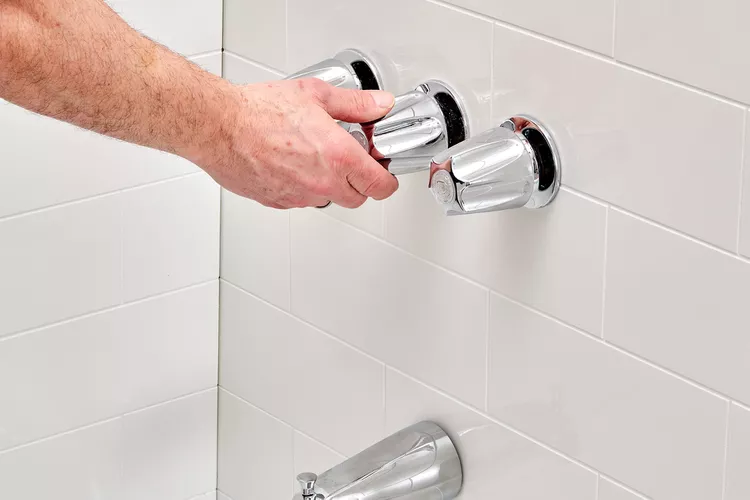
When it comes to installing-a-shower-faucet, the process can vary depending on the type of faucet you are working with. It’s important to follow the manufacturer’s instructions and use the appropriate tools for the job. Proper installation can prevent future leaks and ensure a smooth operation.
Preventing Future Leaks
Regular maintenance is key to preventing future leaks. Here are some tips to keep your faucets in good condition:
- Regularly check for signs of wear and tear.
- Clean faucets and aerators to prevent buildup.
- Replace worn-out parts promptly.
- Avoid over-tightening handles.
Conclusion
Fixing a leaky faucet can save water, reduce your utility bills, and prevent further damage to your plumbing system. By understanding the different types of faucets and following the appropriate repair steps, you can efficiently tackle this common household issue. Regular maintenance and prompt repairs are essential for keeping your faucets in optimal condition.