
Installing a shower tray is where the installation of the entire structure begins. The size and proportions of the product depend on this process. The shower tray acts as the base. Often used as the simplest design option.
Functional characteristics
The main purpose of a shower tray is to collect and drain used water. However, this design also copes with other functions. The main advantages of this solution are:
- The pallet acts as the base and support of the cabin. This is the foundation that ensures the joining of walls and doors.
- The design is characterized by tightness. It is safe, so the risk of injury during swimming is minimized.
- After reviewing the shower tray installation diagram, you will understand that the presented design can significantly reduce the load on the drainage system.
- Excellent thermal insulation properties, making it more pleasant to stand on a pallet than on a concrete floor or tile.
- A variety of options allows you to find a product that suits your taste and bathroom dimensions.
Modern stores present pallets of various shapes and sizes. They can have different depths. If desired, you can order truly unique products that will decorate your bathroom.

Installing a shower tray
What materials are shower trays made from?
For the task under consideration, various materials can be used, each of which has individual characteristics and advantages. The most popular solutions are the following:
- Acrylic. Pallets of various shapes are produced from this material. Additional mechanisms can be installed in it. A distinctive feature of acrylic is easy care and long service life (approximately 15 years). If minor mechanical damage occurs, it can be eliminated using a special paste. It is important to note that in the absence of an internal reinforcing layer, the installation of an acrylic shower tray is carried out on a metal frame. If this is not done, it will bend or break.
- Cast iron. Characterized by durability and long service life. It heats up gradually and retains heat for a long time. Compared to other materials, it has a large mass.
- Steel. Pallets made of this material have an enamel coating. They heat up slowly and provide a sufficient level of sound insulation. The only thing you need to understand is that the strength of the enamel is relatively low, so over time the coating may crack.
- Ceramics. It looks attractive and fits into different interior designs. Does not require special or complex care and lasts a long time. Disadvantages include slow heating and instability to mechanical stress.
- A natural stone. This is a relatively expensive material characterized by an aesthetically attractive appearance. Marble is used for this task. The material warms up well and retains heat for quite a long time. Marble models last for decades and are suitable for the interiors of different bathrooms. Since natural stone is expensive, there is an alternative – artificial. For example, porcelain stoneware. It perfectly imitates natural material, is characterized by durability and affordable cost. Installation of a stone shower tray is complicated by its heavy weight.
Pallets can be made from different materials. How comfortable it will be to take a shower depends on this. In addition to the material, other parameters also play a big role. In particular, shape and size. The presence of an anti-slip coating is an important criterion affecting safety.
What materials are shower trays made from?
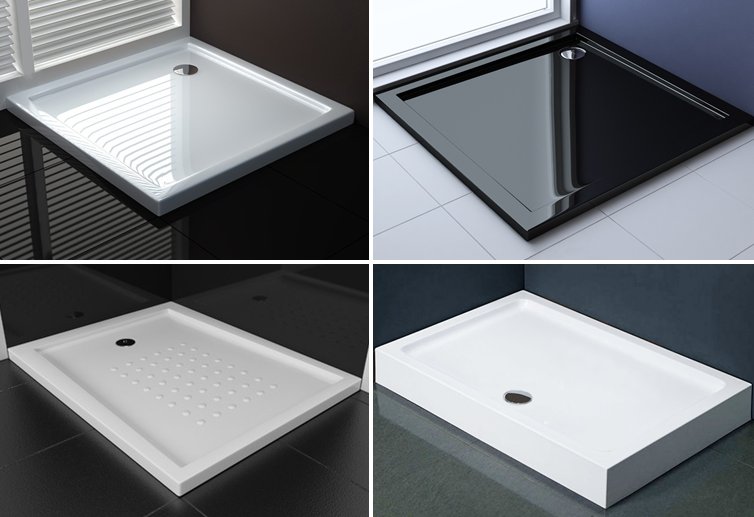
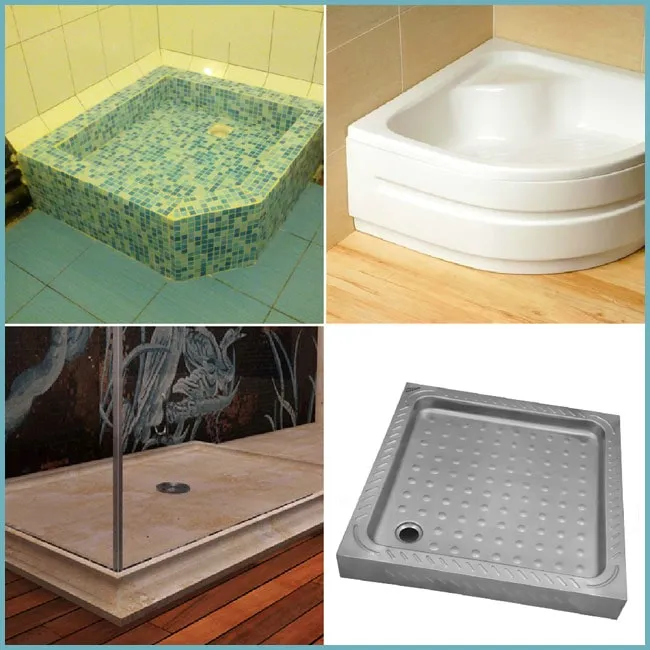
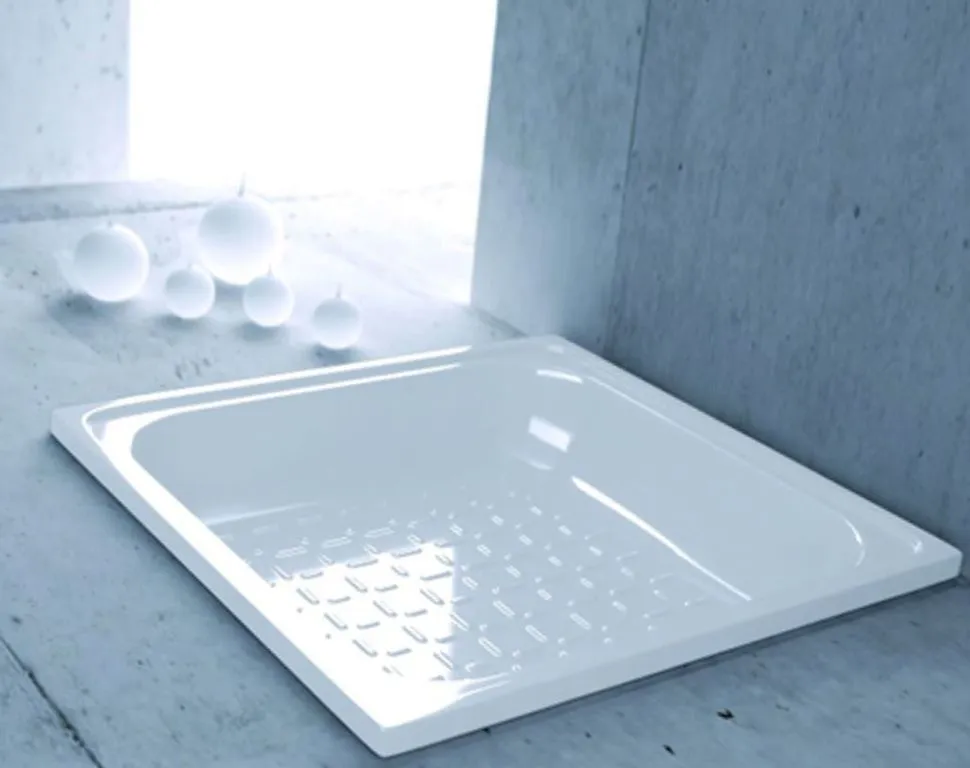
Shapes of shower trays
The most common option is rectangular or square shape. It is not uncommon to have a beveled corner. There are also non-standard models on sale – oval, pentagonal or trapezoidal. Plumbing fixtures are made to order for a specific room.
Location options
Shower trays can be mounted along walls or in corners. There are also universal models. The size of the product, its shape and the method of draining the used water into the sewer depend on the location.
Drain placement
Installing a siphon on a shower tray depends on the location of the drain and the type of structure. Water can flow into the sewer in the central part or in the corner. The choice of one option or another depends on how the utility networks are located in the bathroom. When arranging a sewer system from scratch, the placement site will not affect productivity. The siphon can be installed in a different type of tray: pipe, bottle or functional drain.
Dimensions
Shower trays are made in various sizes. The choice of design is influenced by the technical features of the bathroom. Miniature models 60×60 cm are suitable for small rooms. For standard bathrooms, standard sizes 70×70, 80×80, 80×100 cm are suitable.
If you plan to install additional equipment in the bathroom, then consider the dimensions so that it fits into the remaining space. For spacious rooms, large plumbing fixtures are suitable. For example, 140x140cm. The larger the tray, the more pleasant the shower will be. In addition, it is possible to order a model of a non-standard shape in accordance with the client’s wishes.
Depth also plays a big role. For flat products, the height of the sides does not exceed 10 cm, and for medium ones – 18 cm. If there are children and pets in the house, it is better to choose deep models (up to 50 cm).
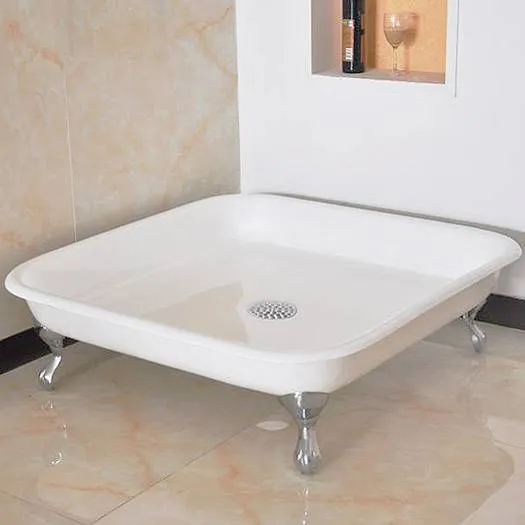
Pallets with legs
Many products include built-in legs. This greatly simplifies installation. There will be no need to put anything under the bottom of the tray. It is enough to adjust the height of the legs correctly. There are several important points to consider here:
- To ensure that the structure is level, it must be mounted level. Assemble the frame and place the container on the floor where the cabin will be located. Place a level on the front side and if you see a slope, then adjust the legs to the required place.
- Adjust until the sides of the container are level. You need to rely on the results of the level.
After adjustment, fixation is performed with lock nuts. To complete the installation of the shower tray on legs, a siphon is connected and a connection to the sewer pipe is made.
Pallets with legs
Installation of acrylic pallets
When installing an acrylic shower tray equipped with legs, a minimum of effort will be required. First of all, you need to outline the installation locations. Please note that the fasteners are installed in wooden inserts, which are located under a layer of glass roving. The self-tapping screws are selected to such a length that when fully screwed in, they do not reach the acrylic base. When mounting on legs, it is better to give preference to models of simple shape. When installing asymmetrical or corner structures, a frame is required that will have more points of contact with the pallet. Without this, sustainability cannot be achieved.
To install a high, medium or low shower tray, you will need a level, an adjustable wrench, a screwdriver or a screwdriver. The easiest way to do this is on a pre-levelled surface. The reliability of the structure and its stability depend on the evenness. This is especially important when you plan to install glass walls and doors. They are quite heavy and fragile, so the load on the pallet will be greater.
Installation of a metal shower tray
Installation of a cast iron shower tray is complicated by the high weight of the structure. This will require additional effort. The products are installed on a stand made of wood or bricks. This is necessary so that the bottom does not sag during operation.
Installation of a metal shower tray