
Understanding Wet Venting in Plumbing
Wet venting is a crucial concept in modern plumbing systems, allowing for more efficient use of space and materials. By sharing a single vent pipe for multiple fixtures, wet venting simplifies the installation process and can lead to cost savings. In this blog post, we will explore the benefits of wet venting and provide detailed installation tips to ensure a successful implementation.
What is Wet Venting in Plumbing?
Wet venting is a plumbing method where one vent pipe serves as the drainage pipe for multiple fixtures. This approach is particularly useful in situations where space is limited, such as in tiny houses or compact residential units. Wet venting is a practical solution that ensures proper ventilation and drainage without requiring numerous separate vent pipes.
Definition and Purpose
The primary purpose of wet venting is to allow air to enter the plumbing system to maintain proper pressure and prevent water seals in traps from being siphoned away. By using a single pipe for both drainage and ventilation, wet venting achieves efficiency and reduces the complexity of the plumbing network.
Common Applications
Wet venting is commonly used in residential plumbing, especially in bathrooms where fixtures such as sinks, toilets, and showers are located close to each other. It is also applicable in commercial settings where space constraints necessitate a more streamlined approach to venting.
Benefits of Wet Venting
Space Efficiency
One of the main advantages of wet venting is the efficient use of space. By consolidating multiple vent pipes into a single one, wet venting allows for a more compact plumbing design, which is particularly beneficial in tiny house plumbing where space is at a premium.
Also Visit: A Practical Guide to Wet Venting: Installation and Benefits
Cost Savings
Wet venting can lead to significant cost savings by reducing the amount of piping and labor required for installation. Fewer materials and a simplified installation process translate to lower overall costs for the homeowner or contractor.
Simplified Installation
The installation process for wet venting is more straightforward compared to traditional venting methods. With fewer pipes to install and connect, the process is quicker and less prone to errors, making it an attractive option for both DIY enthusiasts and professional plumbers.
Installation Tips for Wet Venting
Planning and Design
Assessing Fixture Placement
Before beginning the installation, carefully plan the placement of fixtures. Ensure that the fixtures are located close enough to share a common vent pipe without compromising the efficiency of the drainage system.
Calculating Pipe Sizes
Proper sizing of the vent pipe is essential for effective wet venting. The pipe must be large enough to handle the combined flow of all connected fixtures. Consulting plumbing codes and guidelines can help determine the appropriate pipe sizes.
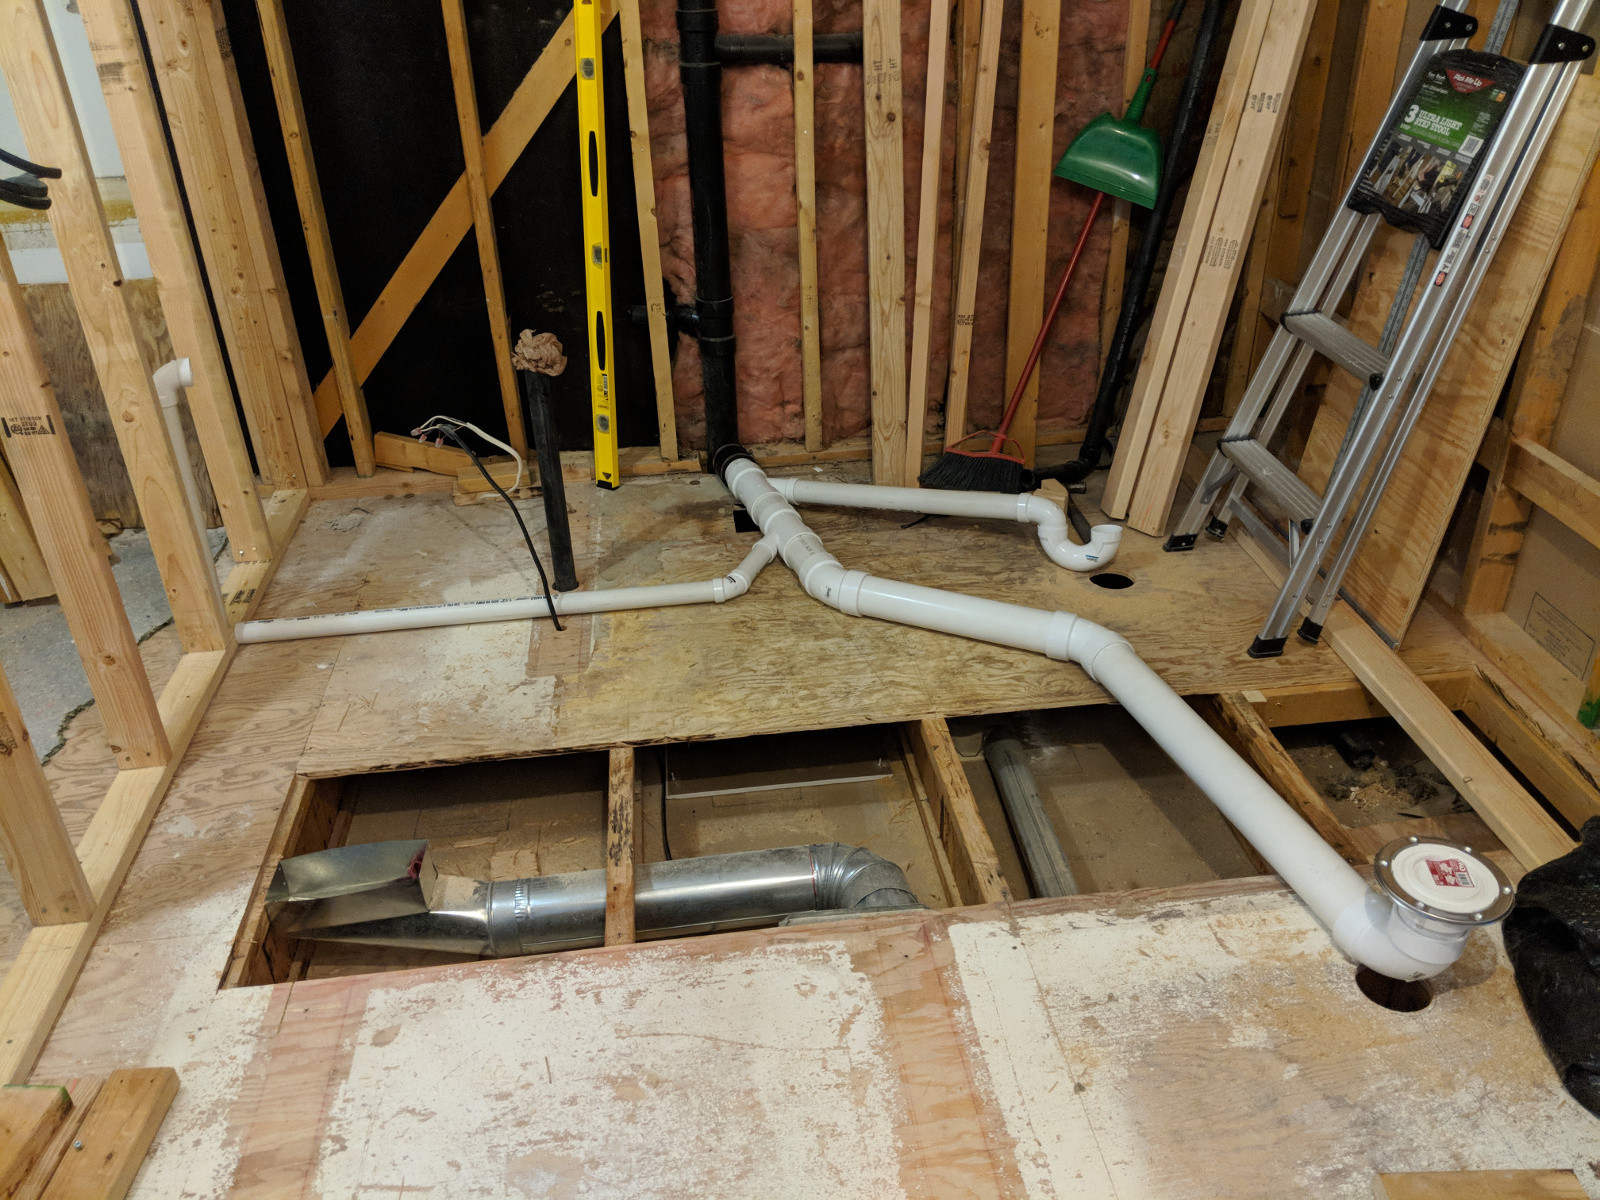
Step-by-Step Installation
Installing the Main Vent Pipe
Start by installing the main vent pipe that will serve as the wet vent. This pipe should be positioned to allow easy connections from all the fixtures it will serve.
Connecting Fixtures
Connect each fixture to the main vent pipe, ensuring that each connection is secure and leak-free. Use appropriate fittings and sealants to achieve a tight seal.
Ensuring Proper Slope
The vent pipe must have the correct slope to ensure proper drainage. A slope of 1/4 inch per foot is typically recommended to allow water to flow smoothly through the pipe.
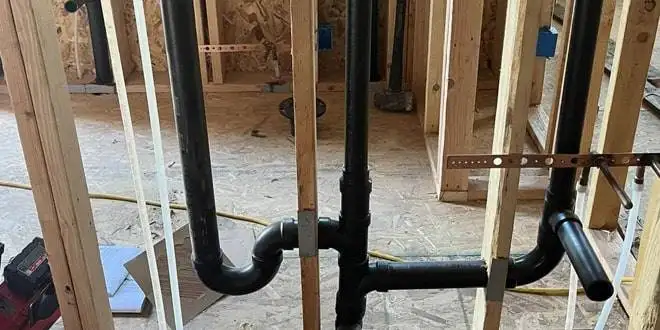
Horizontal Wet Vent Considerations
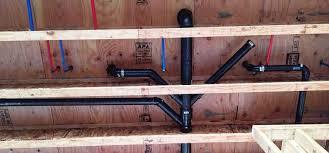
Applications and Limitations
Horizontal wet venting involves running the vent pipe horizontally rather than vertically. This method can be useful in certain installations, such as in basement bathrooms or where vertical space is limited. However, horizontal wet venting may have specific limitations and requirements, such as the need for additional support and the potential for more complex connections.
Installation Guidelines
When installing a horizontal wet vent, ensure that the pipe maintains the correct slope and that all connections are properly secured. Additional supports may be necessary to prevent sagging and ensure the pipe remains level.
Special Cases and Advanced Tips
Plumbing in the Mines
In industrial settings like mining operations, wet venting can be adapted to meet the unique demands of the environment. Mining plumbing systems often require robust and durable materials to withstand harsh conditions. Consulting with specialists, such as those at Hiller Plumbing, can provide insights into the best practices for these challenging applications.
Marketing for Plumbers
Promoting your plumbing services effectively can help you reach more customers and grow your business. Utilizing strategies such as social media marketing, online reviews, and participating in local events can enhance your visibility. Highlighting expertise in modern plumbing techniques like wet venting can also attract clients looking for advanced solutions.
Maintenance and Troubleshooting
Regular Inspections
Regular inspections are crucial to maintaining the efficiency of a wet venting system. Check for any signs of leaks, blockages, or damage to the pipes, and address any issues promptly to prevent more significant problems.
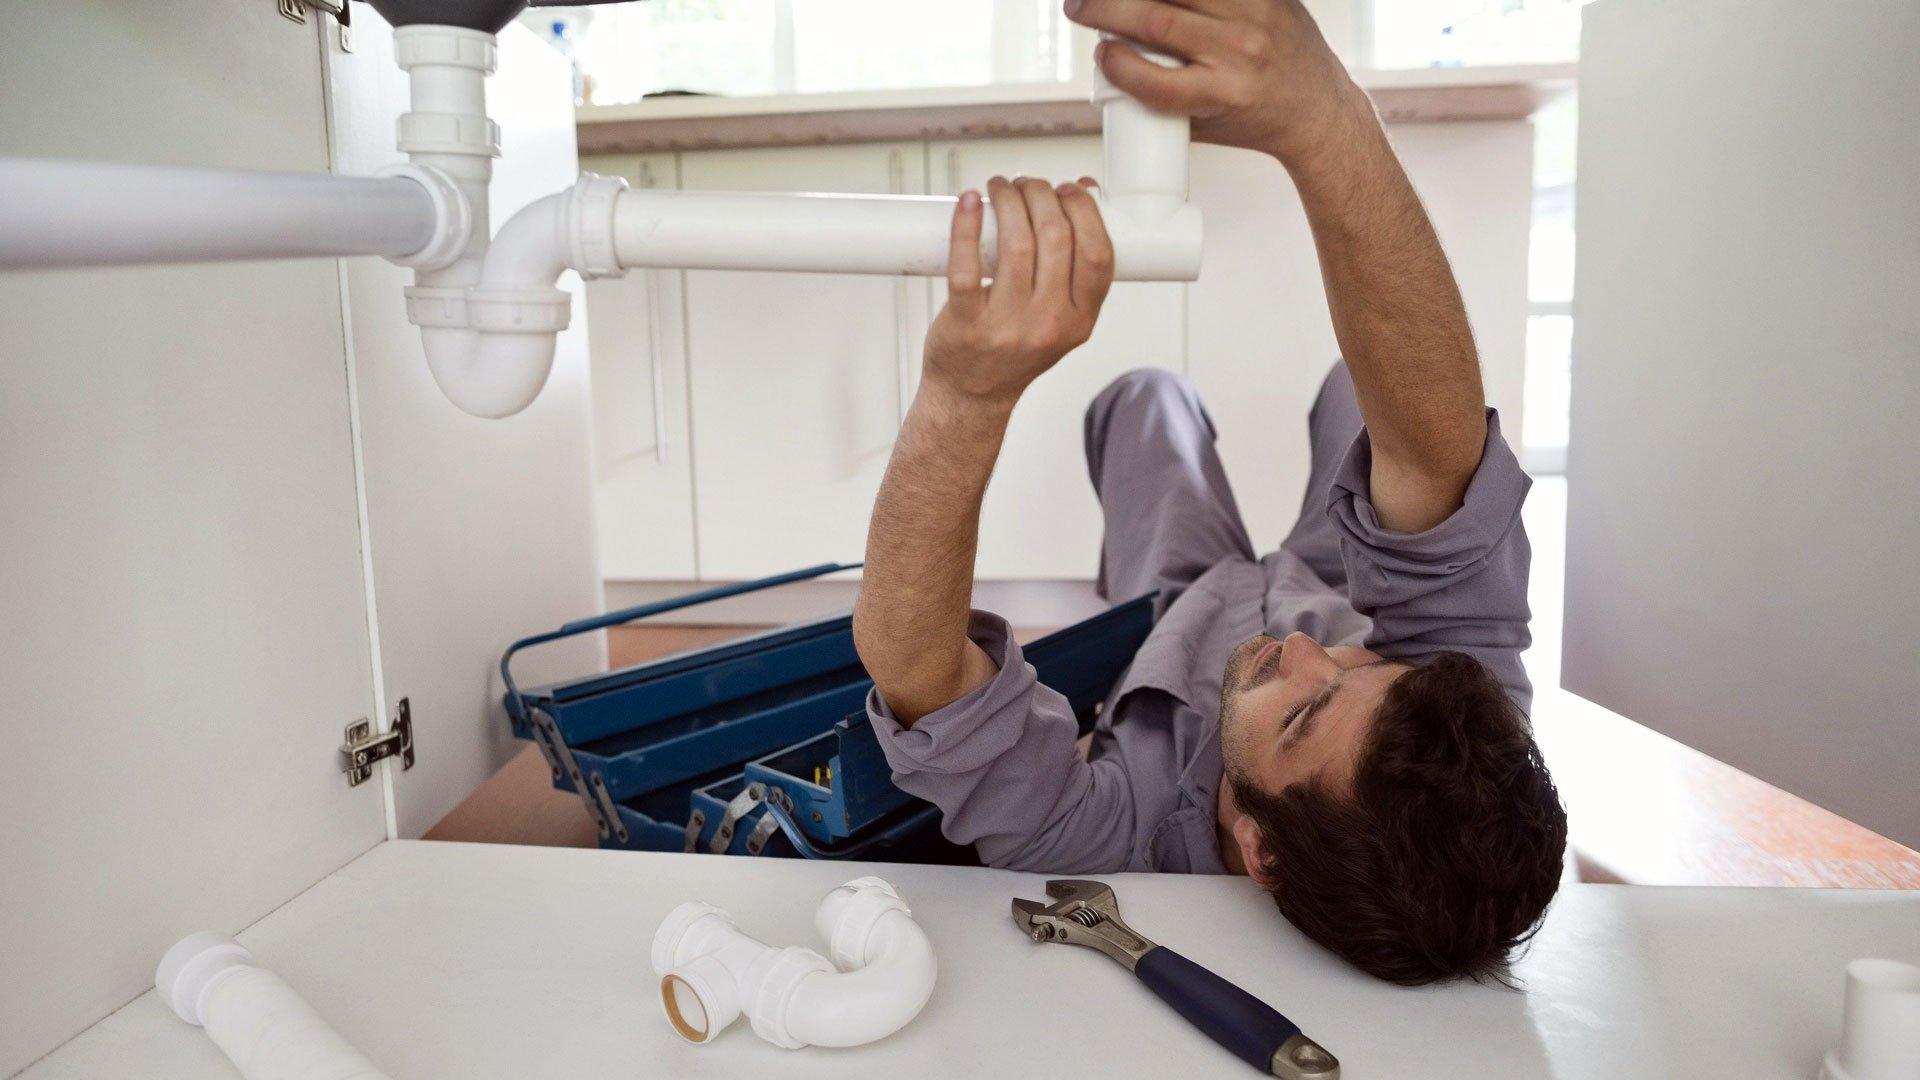
Do-It-Yourself Repair
For minor issues such as a leaking joint or a clogged pipe, a Do-It-Yourself repair can be a practical solution. Ensure you have the right tools and materials before attempting any repairs, and follow safety guidelines to avoid accidents.
Conclusion
Wet venting in plumbing offers numerous benefits, including space efficiency, cost savings, and simplified installation. By understanding the principles and following the proper installation tips, you can achieve a reliable and efficient plumbing system. Whether working on a tiny house project or a larger commercial installation, wet venting can provide an effective solution to your plumbing needs. Keep in mind the importance of regular maintenance and consider consulting professionals like Hiller Plumbing for specialized advice and services.